

-
Getting Started (38)

-
Troubleshooting (19)
-
Open Stack (15)
-
Horizon [GUI] (10)
-
Nova [Compute] (13)
- How do I set an initial username and password on a Windows instance in OpenStack?
- Instance Live Migration
- How to Create an Instance and Make it Available Publicly Using the Command Line
- What happens behind the scenes when I boot a virtual machine, and how can I make it boot faster?
- How Can I Restrict Floating IPs?
- Can I create an instance and add files to it using config drive?
- How can I create an instance with the Nova command line client?
- How can I define flavor vCPU topology?
- How to deploy an instance to a specific hypervisor node
- What is the maximum spec I can set for a flavor?
- Migrating an instance to a new cloud
- Metadata Service in OpenStack Neutron and Nova
- How can I get hypervisor statistics?
-
Neutron [Networking] (22)
-
Glance [Images] (6)
-
Cinder [Block Storage] (13)
-
Keystone [Identity] (8)
-
Heat [Orchestration] (7)
-
Ceilometer [Telemetry] (1)
Migrating an instance to a new cloud
Occasionally, due to upgrades, data center moves or other unforeseen events, it becomes necessary to migrate your instances from one OpenStack cloud to another.
In this example, we’re going to take a snapshot of an instance (a simple one just running nginx), download it to our local machine and then upload it back up to the new cloud. First, let’s take a look at our instance.
ubuntu@snap-test:~$ ps aux | grep nginx
root      1432  0.0  0.2  85880  1336 ?        Ss   01:39   0:00 nginx: master process /usr/sbin/nginx
www-data  1433  0.0  0.3  86220  1760 ?        S    01:39   0:00 nginx: worker process
www-data  1434  0.0  0.3  86220  1760 ?        S    01:39   0:00 nginx: worker process
www-data  1435  0.0  0.3  86220  1760 ?        S    01:39   0:00 nginx: worker process
www-data  1436  0.0  0.4  86220  2248 ?        S    01:39   0:00 nginx: worker process
ubuntu    1452  0.0  0.1  10460   916 pts/0    S+   01:43   0:00 grep --color=auto nginx
We can see that nginx is running from inside the instance; let’s check out the instance itself.
(Note: I have named the instance snap_test, so I can grep for it specifically):
$ nova list | grep snap
| ed1b1588-8117-4ea8-ab60-1d5a94b8904f | snap_test                    | ACTIVE  | -          | Running     | internal=10.230.16.214, 173.247.106.18 |
From here we can see the external IP of the instance; let’s visit it to make sure nginx is up and running:
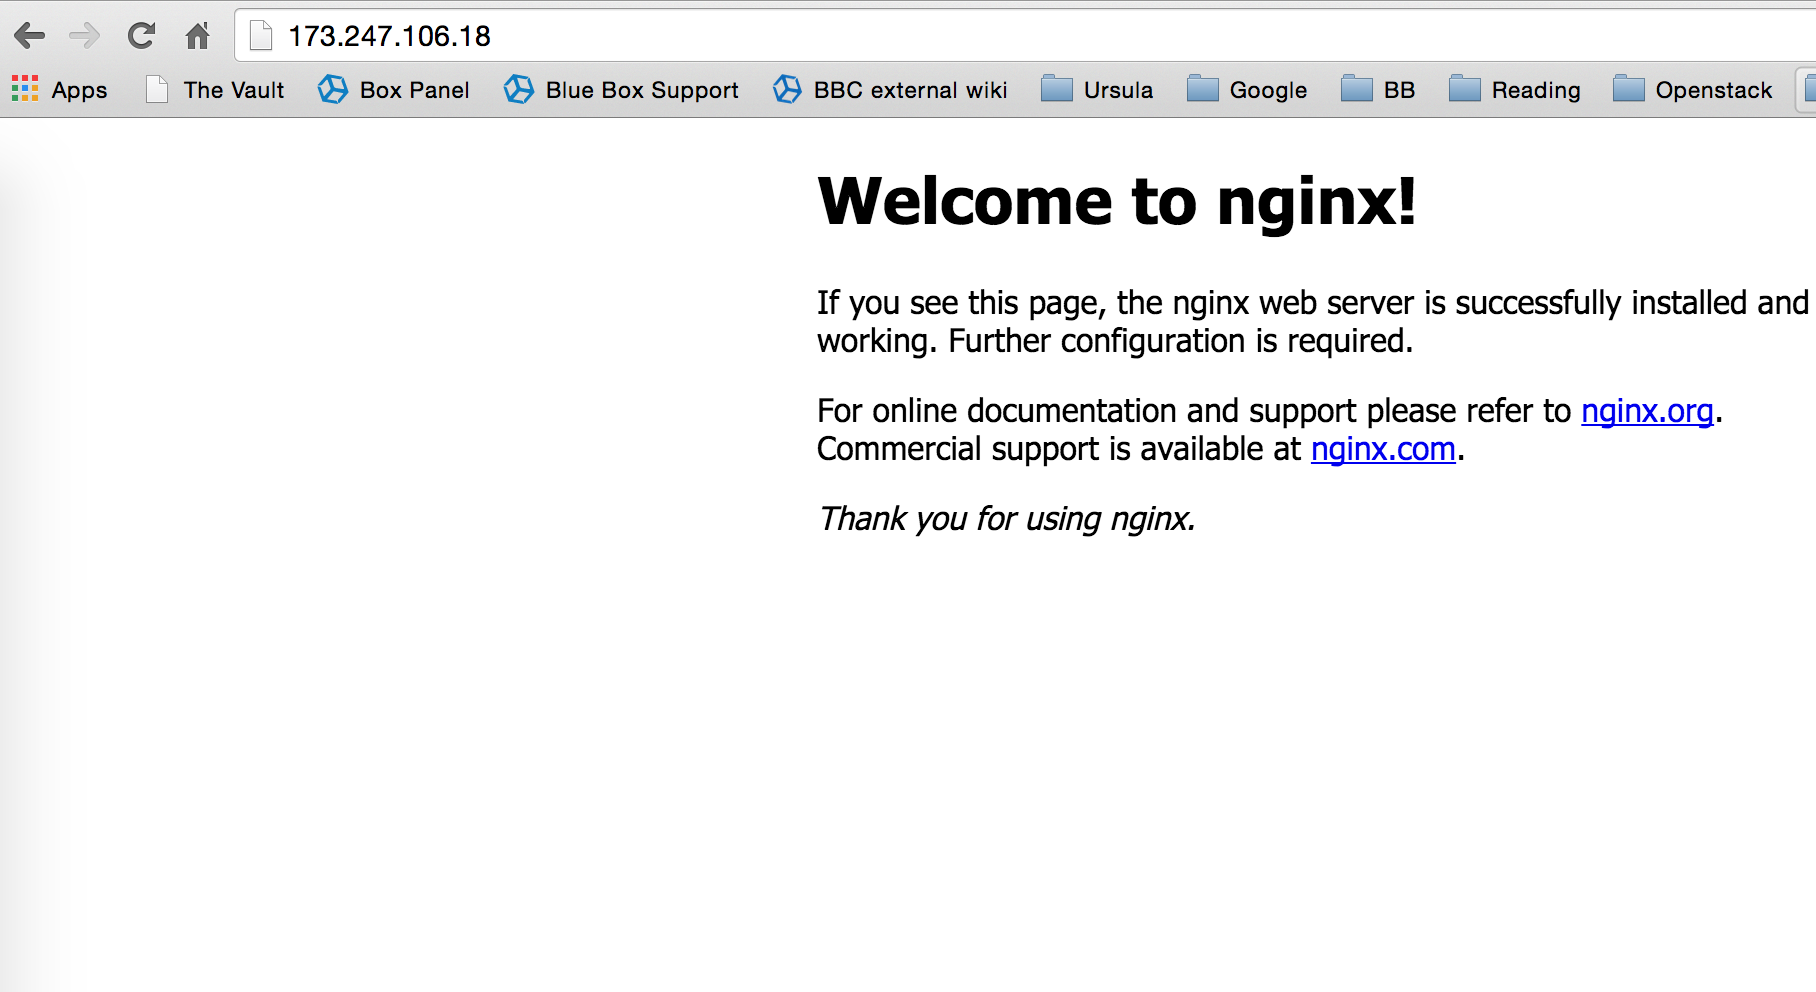
So now that we know it’s up and running, let’s get it moved over to our new cloud.
First, a note about sourcing. You’ll need to have sourced the credentials of your existing cloud to run the cloud commands necessary to run the snapshotting and moving. In this case, I have installed python-openstackclient on my Mac and grabbed the stackrc from my cloud, by clicking on Download OpenStack RC File on the right, as this image shows:
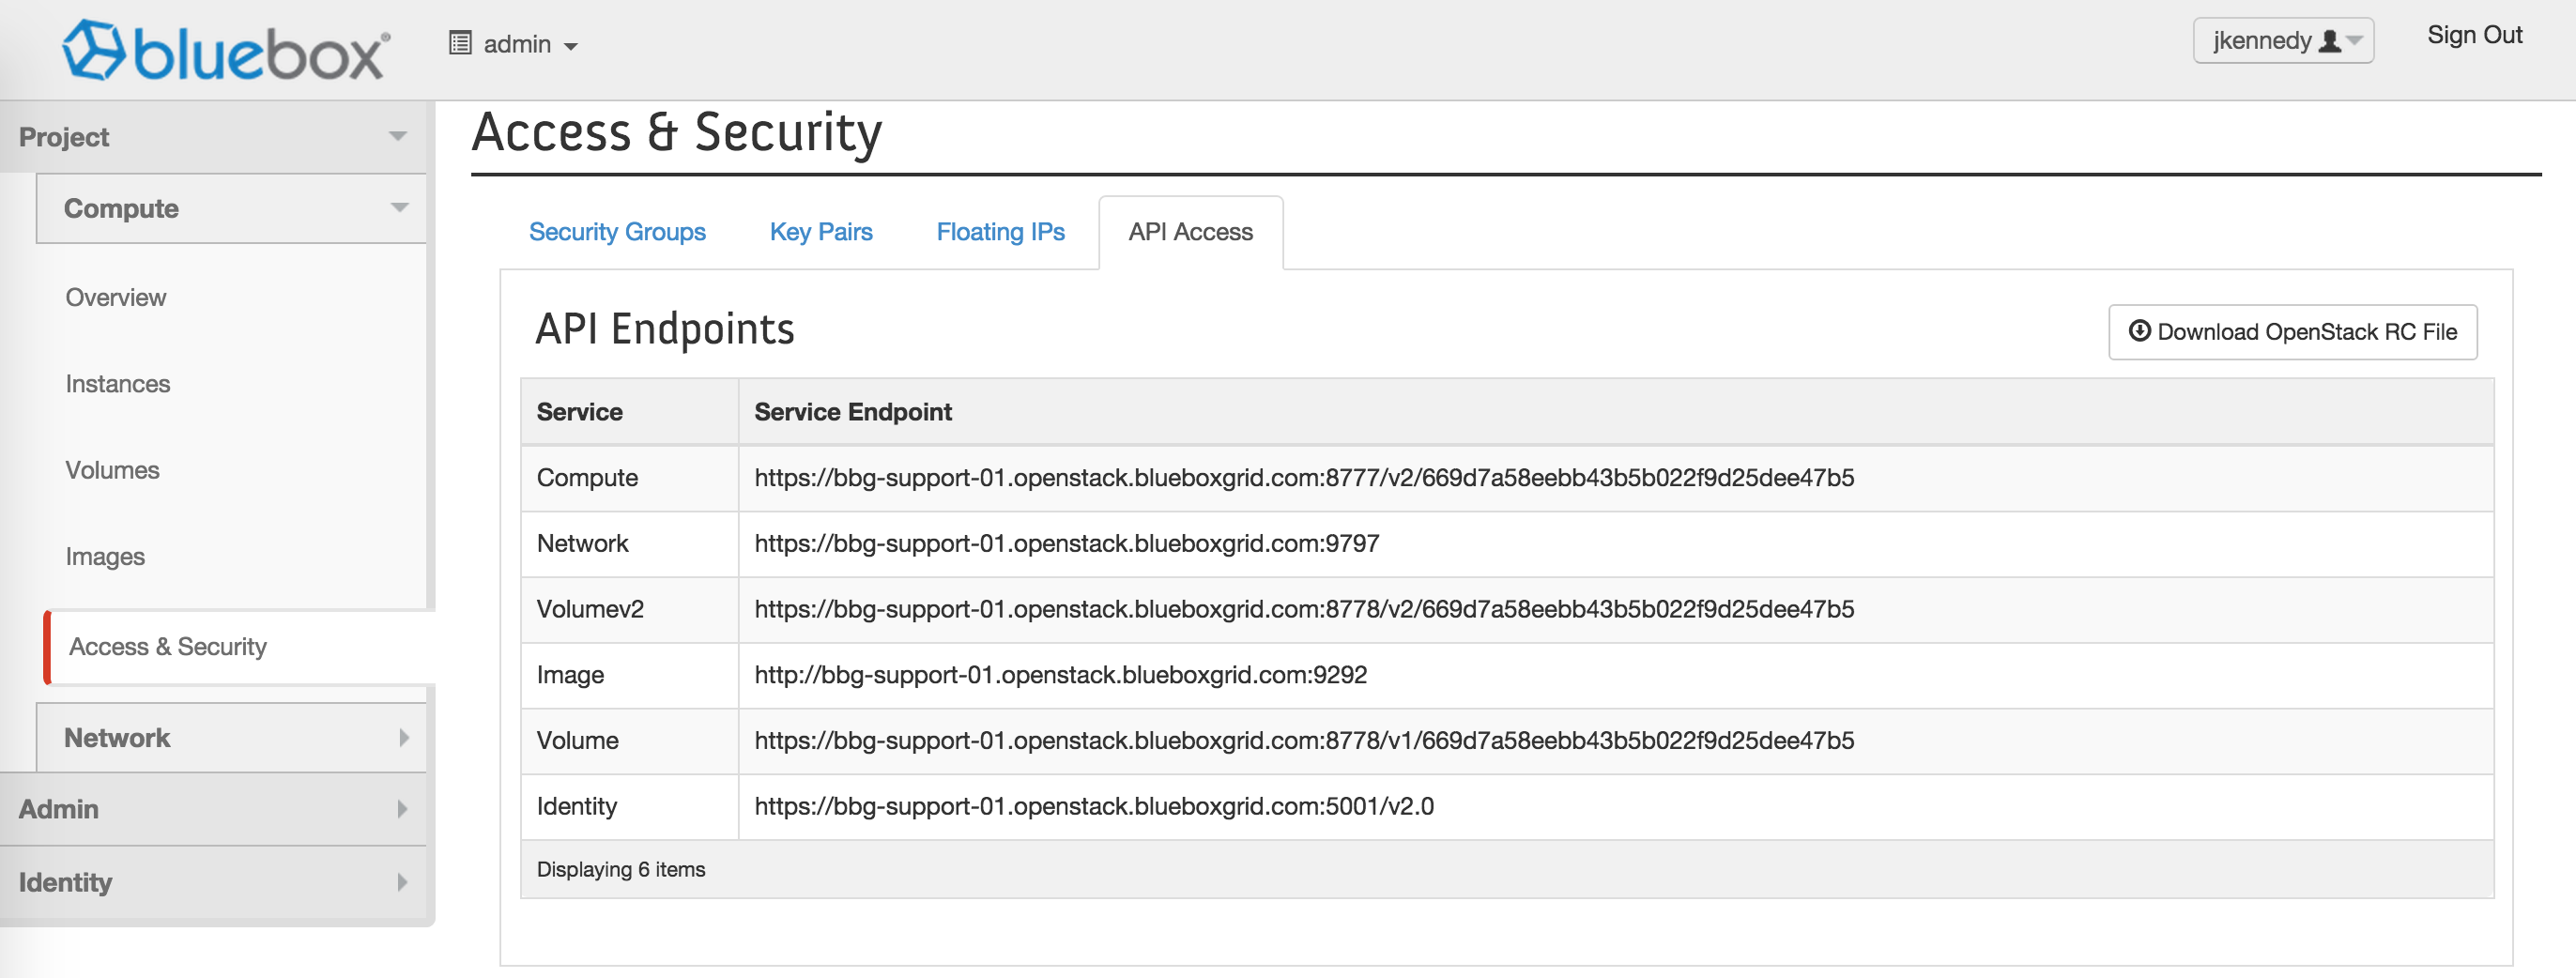
Make sure you source your stackrc:
$ source your_stackrcThat done, let’s snapshot our instance. We know its instance ID from the previous Nova command, so let’s just do it:
$ nova image-create ed1b1588-8117-4ea8-ab60-1d5a94b8904f snap_migrateYou can follow along in Horizon if you like; you should see the Task of your instance change to snapshotting and then uploading. After that, you should be able to see your snapshot in the image-list:
$ nova image-list | grep snap_migrate
| b8f4d8cd-0c3c-4c5b-9011-5740f7ea3a53 | snap_migrate                      | ACTIVE | ed1b1588-8117-4ea8-ab60-1d5a94b8904f |
Once it’s done (and it may take a bit, depending on the image size) and the image shows as ACTIVE, go ahead and download it to your local machine:
$ glance image-download b8f4d8cd-0c3c-4c5b-9011-5740f7ea3a53 --file snap_migrate.imgOnce that download completes, you now have the image saved locally. Let’s turn around and immediately upload it into our new cloud. First, make sure to source the stackrc from that cloud to make sure you’re interacting with the right one, then go ahead and upload the snapshot you created:
$ glance image-create --container-format bare --disk-format qcow2 --name snap_migration --file snap_migrate.img
+------------------+--------------------------------------+
| Property         | Value                                |
+------------------+--------------------------------------+
| checksum         | 2224c17ec79862f54375fa1cefd3d645     |
| container_format | bare                                 |
| created_at       | 2015-09-26T02:13:13Z                 |
| disk_format      | qcow2                                |
| id               | e58d8636-480d-4b38-ab78-c606bdd0ea5b |
| min_disk         | 0                                    |
| min_ram          | 0                                    |
| name             | snap_migration                       |
| owner            | 5da25cc3853f4c54850898f9614c20bb     |
| protected        | False                                |
| size             | 1245970432                           |
| status           | active                               |
| tags             | []                                   |
| updated_at       | 2015-09-26T02:27:41Z                 |
| visibility       | private                              |
+------------------+--------------------------------------+
A note about the image-create command when you use Glance. In the previous command, here’s what we did:
--container-format: Container format of image. Acceptable formats: ami,
ari, aki, bare, and ovf.
--disk-format: Disk format of image. Acceptable formats: ami, ari,
aki, vhd, vmdk, raw, qcow2, vdi, and iso. (Note that OpenStack uses qcow2 for all images internally.)
--name Name of your image.
--file Local file that contains a disk image to be uploaded
during creation. Alternatively, images can be passed
to the client via stdin.
When that completes, let’s boot an instance from the snapshot:
$ nova boot --image snap_migration --nic net-id=ba0fdd03-72b5-41eb-bb67-fef437fd6cb4 --security-groups jksec --flavor m1.tiny snap_migration_test
+--------------------------------------+-------------------------------------------------------+
| Property                             | Value                                                 |
+--------------------------------------+-------------------------------------------------------+
| OS-DCF:diskConfig                    | MANUAL                                                |
| OS-EXT-AZ:availability_zone          | nova                                                  |
| OS-EXT-SRV-ATTR:host                 | -                                                     |
| OS-EXT-SRV-ATTR:hypervisor_hostname  | -                                                     |
| OS-EXT-SRV-ATTR:instance_name        | instance-0000b5d6                                     |
| OS-EXT-STS:power_state               | 0                                                     |
| OS-EXT-STS:task_state                | scheduling                                            |
| OS-EXT-STS:vm_state                  | building                                              |
| OS-SRV-USG:launched_at               | -                                                     |
| OS-SRV-USG:terminated_at             | -                                                     |
| accessIPv4                           |                                                       |
| accessIPv6                           |                                                       |
| adminPass                            | DELjqhe3ZE9v                                          |
| config_drive                         |                                                       |
| created                              | 2015-09-26T02:50:29Z                                  |
| flavor                               | m1.tiny (1)                                           |
| hostId                               |                                                       |
| id                                   | 9d006877-4e8a-499a-85e3-0aeb247030d9                  |
| image                                | snap_migration (e58d8636-480d-4b38-ab78-c606bdd0ea5b) |
| key_name                             | -                                                     |
| metadata                             | {}                                                    |
| name                                 | snap_migration_test                                   |
| os-extended-volumes:volumes_attached | []                                                    |
| progress                             | 0                                                     |
| security_groups                      | jksec                                                 |
| status                               | BUILD                                                 |
| tenant_id                            | 83d3441be197446b8c3e3353719ada33                      |
| updated                              | 2015-09-26T02:50:28Z                                  |
| user_id                              | de498f0256144c4082426a682c5bfbd4                      |
+--------------------------------------+-------------------------------------------------------+
In the previous command (nova boot --image snap_migration --nic net-id=ba0fdd03-72b5-41eb-bb67-fef437fd6cb4 --security-groups jksec --flavor m1.tiny snap_migration_test) I used the --nic net-id that I gained by running nova net-list and grabbing the ID of the internal network. Likewise, the --security-groups variable jksec came from running nova secgroup-list, both commands being run using the API. You can find both commands in the Horizon panel as well.
Once our instance comes up, we need to give it an external IP in order for nginx to be able to be reached from the outside. Speaking of which, make sure to allow port 80 ingress on your new cloud security group so your instance is reachable that way.
$ nova add-floating-ip 9d006877-4e8a-499a-85e3-0aeb247030d9 173.247.105.119Finally, let’s test our moved instance to make sure nginx is up and running without issue (remember, we haven’t even logged into the instance, this is a drag and drop procedure thus far):
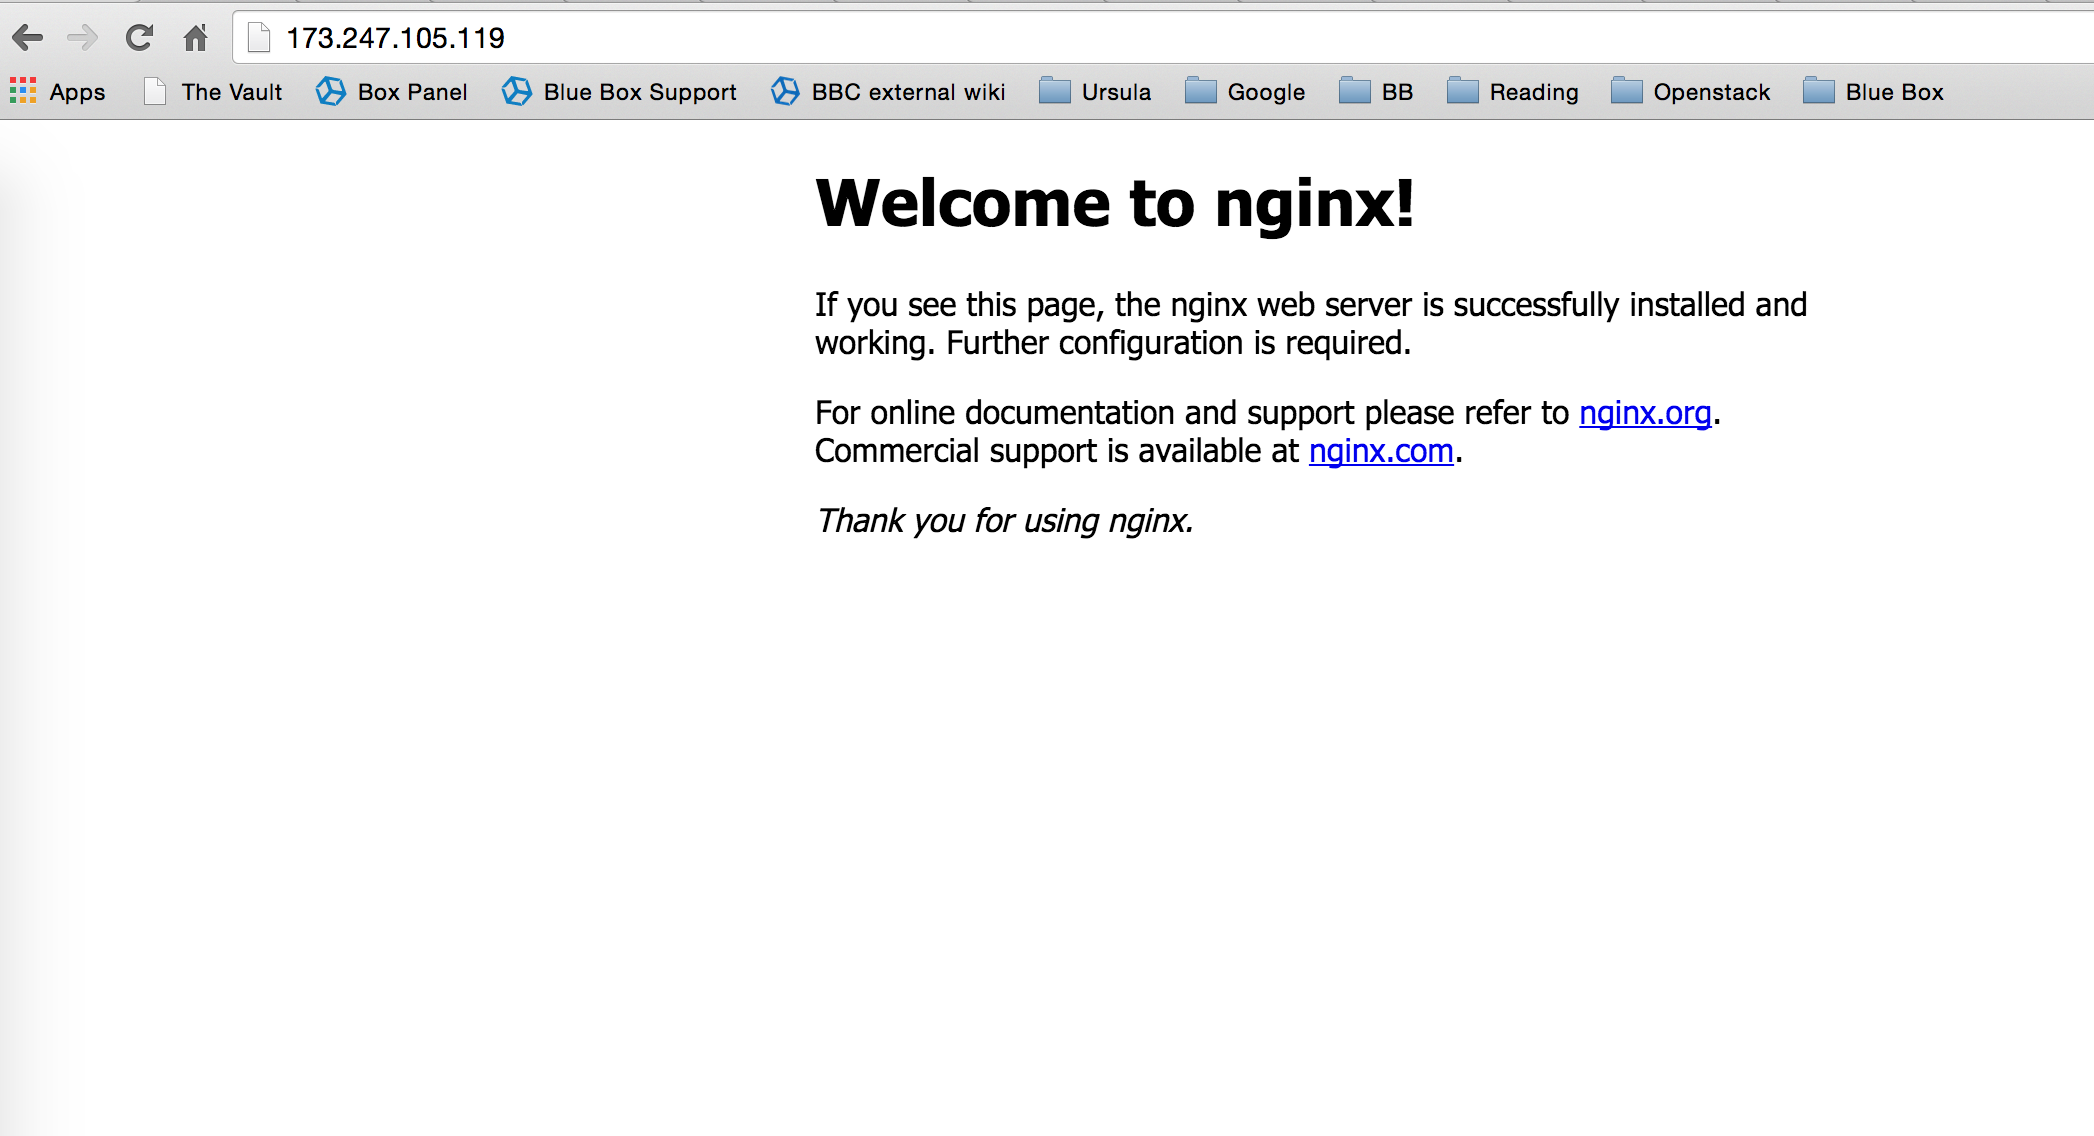
That’s it! Thanks!